Friday, April 29, 2011

Shoe Love

A couple days ago I was visiting the love of my life. During this visit I got a pair of shoes (every girl's dream!). I must give credit to my sister for introducing me to this very special addition to my life. This love of mine is not a man...someday my prince will come...it's a store. The Goodwill Outlet is magical land where treasures are sold by the pound. If you don't mind a little digging (okay, a lot of digging) you will find amazing deals on everything you didn't know you needed. So, back to the story...

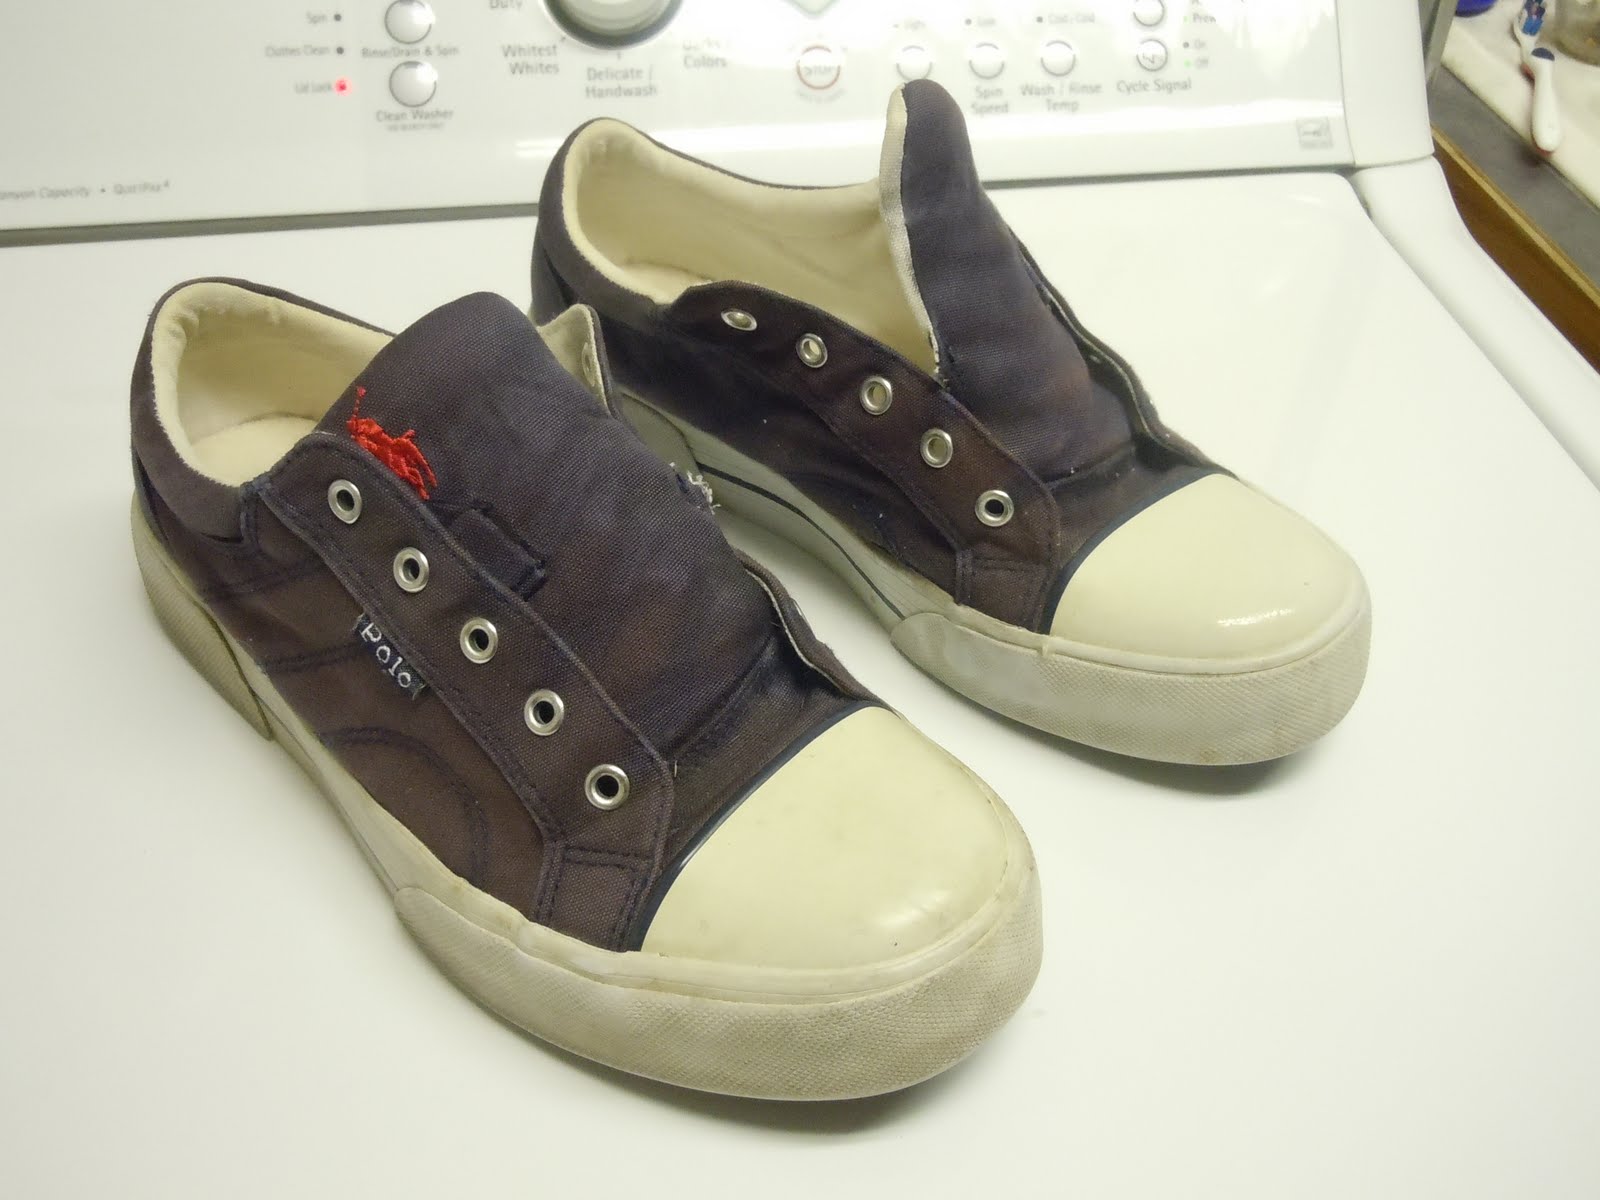
While on my most recent trip to the Goodwill Outlet I found a pair of Ralph Lauren Polo brand canvas shoes. They were in fairly good shape, but looked as though they were left out on the porch all summer long. What had once been a dark navy blue had faded to splotchy shades of purple and red. The rubber soles were a little dirty and the white color was yellowed with age. You can see why these shoes had been passed by in the regular Goodwill stores. But, at $0.99/lb these shoes cost right around a buck. I can work with that! Below I'll show you step by step how I am giving new life to these shoes.

In The Beginning:


Friday, April 8, 2011

Upcycling Egg Cartons

Welcome to the Renewed Relics' first blog post. Today, I thought it would be fun to give you instructions on how to make a string of flower lights out of empty egg cartons. This project is pretty simple, but it can be time consuming. Have a go at it yourself or check out the floral string lights I've made in my etsy shop.


Materials for this project:
Egg Cartons (Cardboard or Styrofoam), Acrylic Craft Paints, Sharp Utility Knife,
Foam Paintbrush, Hot Glue Gun, String of Christmas Lights, Cutting Mat

Step 1:
Using the utility knife cut the egg cartons along the red lines in this picture. With a styrofoam carton, not every cup will make a good flower shape. This carton yields 16  poppy shaped flower. The cardboard carton on the right will yield
5 lily shaped flowers. Save up your cartons or ask your friends and family to donate theirs to your project.

Step 2:

You will want to trim the edges of your carton cutouts to clean up the rough edges. On the styrofoam flowers I have shaped the edges to look like the top half of a heart. The cardboard cartons will sometimes have fuzzy edges. You can also round the pointed corners to give your lilies a different look.
Step 3:
Now it's time to paint your blossoms! I've found that sponge paint brushes work best to cover the irregular surfaces and works the paint into the little creases and dimples well. As you can see on the orange flower, the styrofoam will show your brush strokes. This gives the flowers a watercolored look. The cardboard will paint up nice and evenly. I recommend painting the insides of all the flowers first. By the time you've painted the last flower, the first should be dry and you can then begin painting the insides.
Step 4:
Once all the paint has thoroughly dried, use the utility knife to cut a small X shaped slit in the bottom of your flower. This slit is where you will insert the light bulbs.
Step 5:


Insert one of the light bulbs through one of the flower just far enough that you can remove the bulb and change it if it burns out.


On the back side of the flower, hot glue the flower in place. It helps to hold the flower in position until the glues is set. Repeat this step for each flower, making sure the glue is cool before moving onto the next light.


Final Product:

These lights make a whimsical decoration for your room. They also make wonderful night lights, providing a delicate and colorful glow.